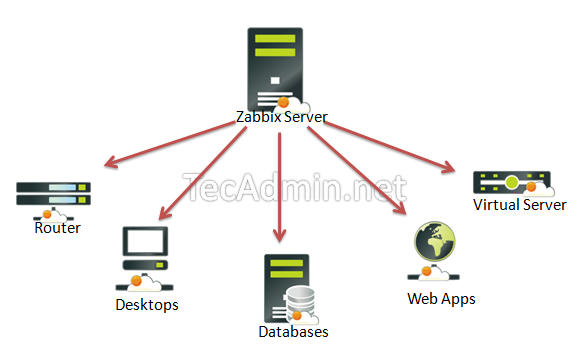
Zabbix is an open source software for networks and application monitoring. Zabbix provides agents to monitor remote hosts as well as Zabbix includes support for monitoring via SNMP, TCP and ICMP checks. Click here to know more about zabbix.
This article will help you to step by step install Zabbix 2.2 Server on CentOS/RHEL 7/6/5 and Fedora Systems. Before starting installation read below basic requirements to run Zabbix 2.2.
- Apache: 1.3.12 or later.
- PHP: 5.3.0 or later.
- MySQL: 5.03 or later.
- OpenIPMI: Required for IPMI support.
- libssh2: Required for SSH support. Version 1.0 or higher.
- fping: Required for ICMP ping items.
- libcurl: Required for web monitoring.
- libiksemel: Required for Jabber support.
- net-snmp: Required for SNMP support.
Step 1: Set Up Apache, MySQL and PHP
In order to use Zabbix we required a Web Server, database server and PHP to work. In this steps we are going to set up these services, You many skip this step if you have already configured it.
Install All Services
# yum install httpd httpd-devel
# yum install mysql mysql-server
# yum install php php-cli php-common php-devel php-pear php-gd php-mbstring php-mysql php-xml
Start All Services
# service httpd start
# service mysqld start
MySQL Initial Setup
Run following command to setup mysql initially and secure it (this is option to secu your mysql)
# mysql_secure_installation
Step 2: Configure Yum Repository
Before installing Zabbix first configure zabbixzone rpm repository in our system using following commands.
CentOS/RHEL 7:
# rpm -Uvh http://repo.zabbix.com/zabbix/2.2/rhel/7/x86_64/zabbix-release-2.2-1.el7.noarch.rpm

CentOS/RHEL 6:
# rpm -Uvh http://repo.zabbix.com/zabbix/2.2/rhel/6/x86_64/zabbix-release-2.2-1.el6.noarch.rpm

CentOS/RHEL 5:
# rpm -Uvh http://repo.zabbix.com/zabbix/2.2/rhel/5/x86_64/zabbix-release-2.2-1.el5.noarch.rpm
Step 3: Install Zabbix Server with MySQL
Use following command to install Zabbix using mysql database support packages on your system.
# yum install zabbix-server-mysql zabbix-web-mysql zabbix-agent zabbix-java-gateway
Step 4: Setup Zabbix Apache Configuration
Zabbix creates its own apache configuration file /etc/httpd/conf.d/zabbix.conf. Edit this file and just update timezone. More timezone’s
php_value date.timezone Asia/Ho_Chi_Minh
After changing value restart Apache service.
# service httpd restart
Step 4: Create Zabbix MySQL Database
This installation is using mysql as backend of zabbix, So we need to create MySQL database and User for zabbix installation.
# mysql -u root -p

mysql> CREATE DATABASE zabbix CHARACTER SET UTF8;
mysql> GRANT ALL PRIVILEGES on zabbix.* to 'zabbix'@'localhost' IDENTIFIED BY 'CHANGE_PASS_HERE';
mysql> FLUSH PRIVILEGES;
mysql> quit
After creating database restore the default mysql database provided by zabbix. These files can be found at /usr/share/doc/zabbix-server-mysql-<version>/create/ directory.
# mysql -u zabbix -p zabbix < /usr/share/doc/zabbix-server-mysql-2.2.8/create/schema.sql
# mysql -u zabbix -p zabbix < /usr/share/doc/zabbix-server-mysql-2.2.8/create/images.sql
# mysql -u zabbix -p zabbix < /usr/share/doc/zabbix-server-mysql-2.2.8/create/data.sql
Step 5: Start Zabbix Server
After completing above setup, let’s start Zabbix server using following command.
# service zabbix-server start
After starting zabbix service, let’s go to Zabbix web installer and finish the installation.
Step 5: Start Zabbix Web Installer
Zabbix web installer can be access using following url, Change FQDN as per you setup.
http://localhost/zabbix/
and follow the steps as per given screen shots below.
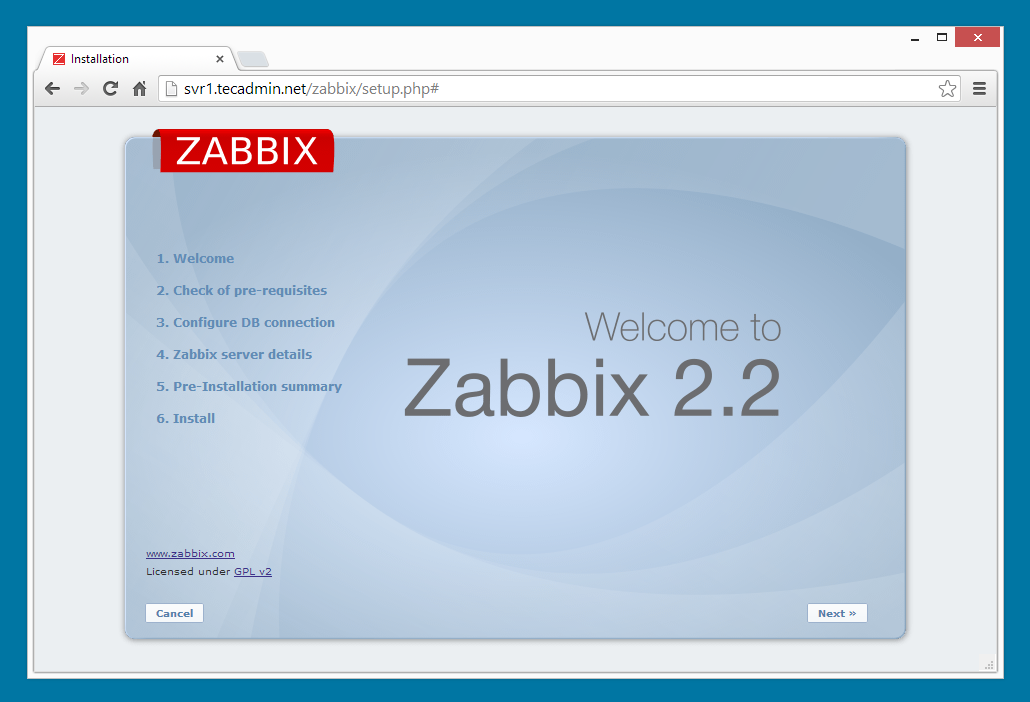
Zabbix Setup Welcome Screen
This is welcome screen of zabbix web installer. Go forward by click on next button.
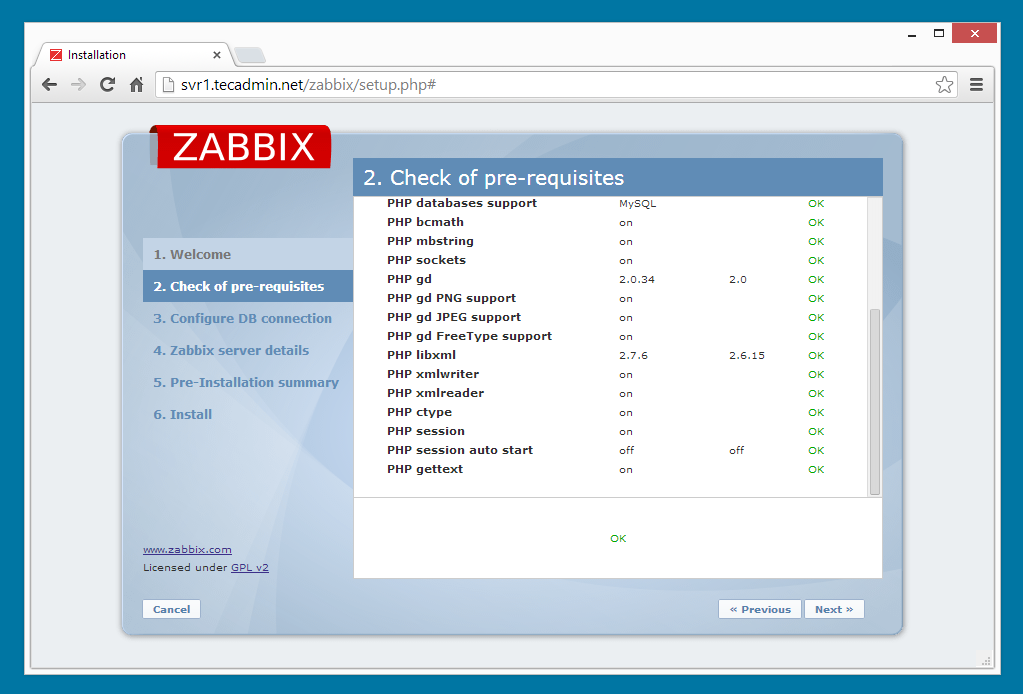
Check for pre-requisities
Check if your system have all required packages, if everything is ok click next.
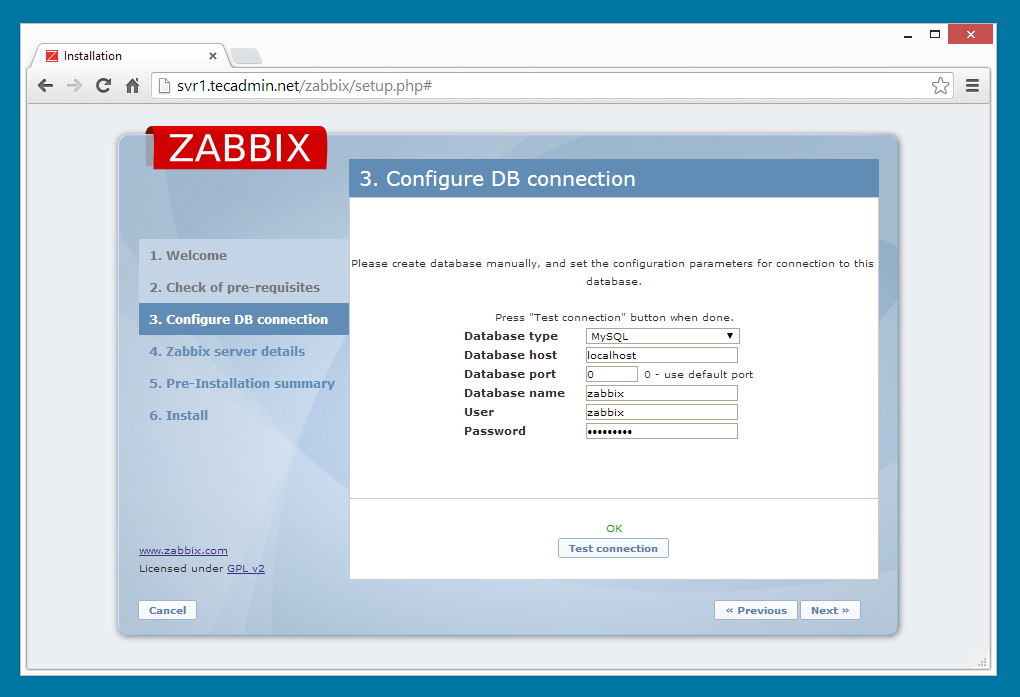
Configure DB Connection
Enter database details created in Step #4 and click Test Connection. If database connection is correct, it will show ok message. After that click next.
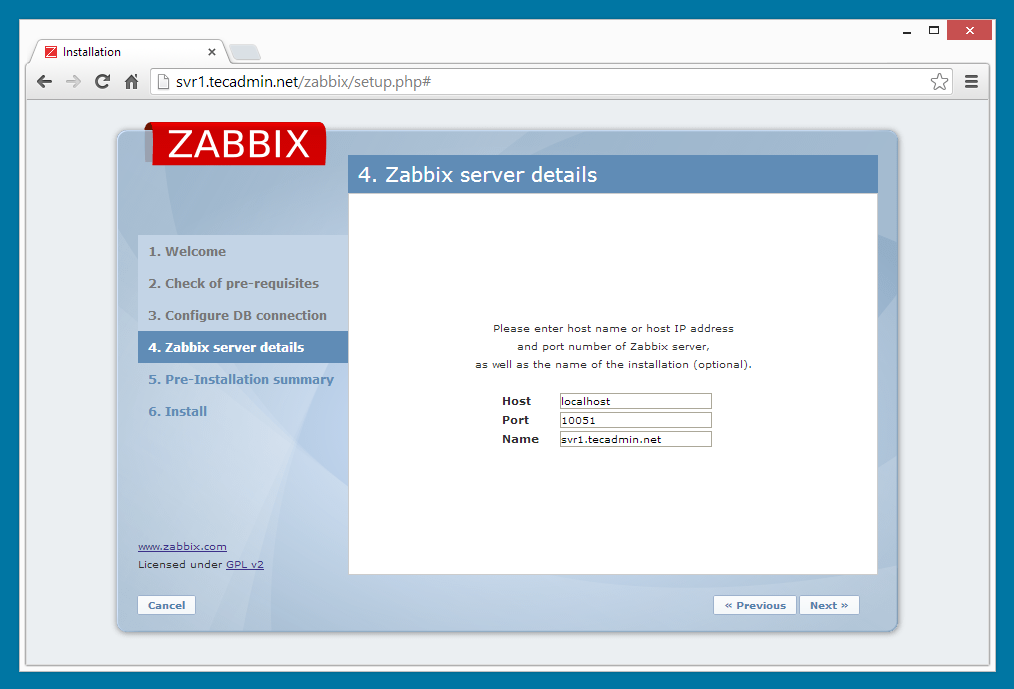
Zabbix Server Details
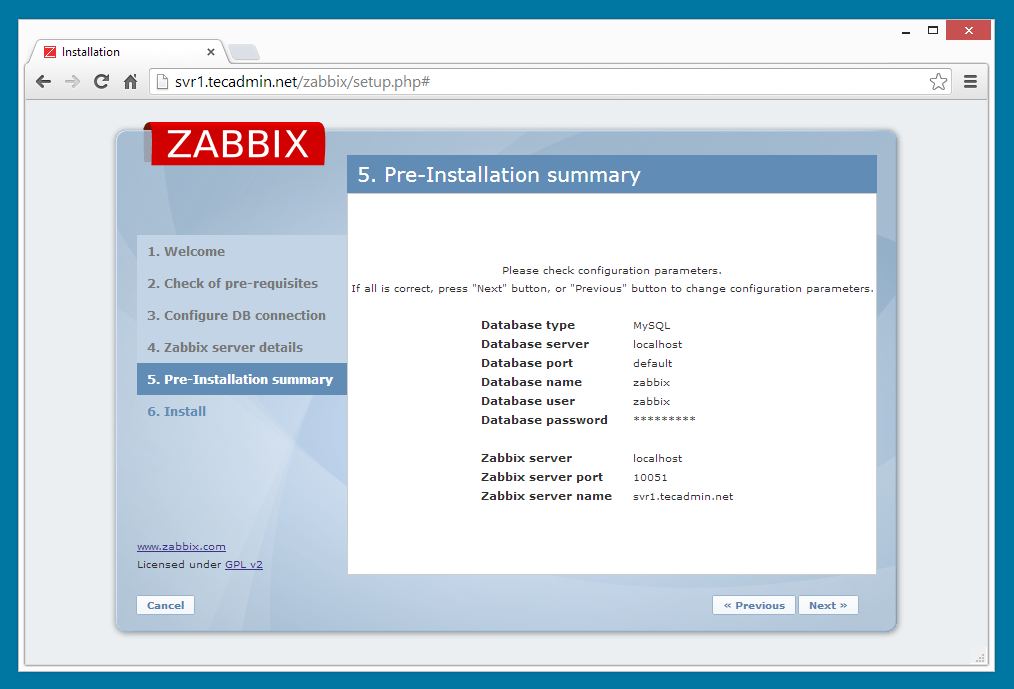
Pre-Installation Summary
This step will show the summary you have entered previous steps, so simply click next.
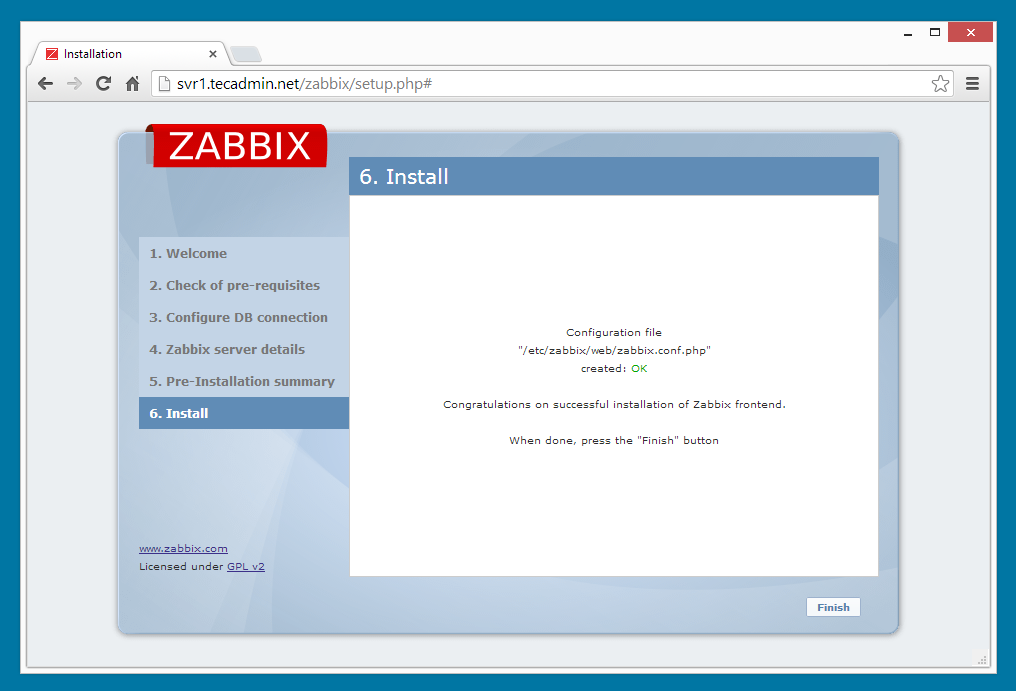
Install Zabbix
Zabbix Login Screen
Login to Zabbix using below default credentials.
   Username:  admin
   Password:  zabbix

Under CentOS you can safely assume SELinux is in your way.
One could disable SELinux totally with: # setenforce 0
But, needless to say is not the most secure option ;-)
To permit what zabbix frontend actually wants:
# setsebool -P httpd_can_network_connect=true
One could disable SELinux totally with: # setenforce 0
But, needless to say is not the most secure option ;-)
To permit what zabbix frontend actually wants:
# setsebool -P httpd_can_network_connect=true
Congratulation! Your Zabbix setup has been completed. Read our next article to Install Zabbix Agent and Add Host in Zabbix Server.
Installing Zabbix Agent
Follow the below instructions to install Zabbix Agent on CentOS, RHEL 7/6/5 systems.
Step 1: Add Required Repository
Before installing Zabbix Agent first configure zabbix yum repository using following commands as per your required version and operating system. (Becareful with your x86_64 or i386)
CentOS/RHEL 7:
# rpm -Uvh http://repo.zabbix.com/zabbix/2.2/rhel/7/x86_64/zabbix-release-2.2-1.el7.noarch.rpm

CentOS/RHEL 6:
# rpm -Uvh http://repo.zabbix.com/zabbix/2.2/rhel/6/x86_64/zabbix-release-2.2-1.el6.noarch.rpm

CentOS/RHEL 5:
# rpm -Uvh http://repo.zabbix.com/zabbix/2.2/rhel/5/x86_64/zabbix-release-2.2-1.el5.noarch.rpm
Step 2: Install Zabbix Agent
After installing yum repository packages in our system. Now use following command to install Zabbix agent on your Linux sytem.
# yum installzabbix zabbix-agent
Step 3: Update Zabbix Agent Configuration
As zabbix agent has been successfully installed on our remote system. Now we just need to configure zabbix agent by adding zabbix server ip in its configuration file/etc/zabbix/zabbix_agentd.conf
#Server=[zabbix_server ip]
#Hostname=[ Hostname of client system ]

Server=192.168.1.11
Hostname=Client1
Step 4: Restarting Zabbix Agent
After adding zabbix server ip in configuration file, now restart agent service using below command.
# /etc/init.d/zabbix-agent restart
To start and stop zabbix-agent service anytime use following commands.
# /etc/init.d/zabbix-agent start
# /etc/init.d/zabbix-agent stop
AND, what next -> #vi /etc/sysconfig/iptables
# Firewall configuration written by system-config-firewall
# Manual customization of this file is not recommended.
*filter
:INPUT ACCEPT [0:0]
:FORWARD ACCEPT [0:0]
:OUTPUT ACCEPT [0:0]
-A INPUT -m state --state ESTABLISHED,RELATED -j ACCEPT
-A INPUT -p icmp -j ACCEPT
-A INPUT -i lo -j ACCEPT
-A INPUT -p tcp -m state --state NEW --dport "PORT ZABBIX" -j ACCEPT
-A INPUT -m state --state NEW -m tcp -p tcp --dport 22 -j ACCEPT
-A INPUT -j REJECT --reject-with icmp-host-prohibited
-A FORWARD -j REJECT --reject-with icmp-host-prohibited
COMMIT
#service iptables restart
After installing Zabbix Server and Zabbix Agent, lets move to add your first host in Zabbix monitoring. There are Zabbix is template rich tools, It contains lots of pre defined templates which we can easily used with our hosts.
There are two ways to add hosts in Zabbix:
1. Zabbix has capability to scan your network and automatically add all the hosts in Zabbix server.
2. Second method is used for adding hosts manually.
Using this tutorial, we are going to add host manually. Follow the below steps to add your first host which is running with Linux operating system.
Adding New Host in Zabbix
Firstly we need to login to zabbix web interface using admin account.
After login follow the steps given below, You may also refer screenshot showing just after these steps.
- Click on
Configuration Menu - Click on
Hosts submenu - Click on
Create Host button at right side

Now fill the following details of remote host and go to Templates tab.
Enter Hostname: Hostname of Remote systemVisible name: Name to be display in zabbixGroup: Select the desired group for you hostAgent interface: Fill the info of Zabbix agent running on hostStatus: Select initial status

- Click on
add link - Select desired Template : Please select carefully, Because it will enabled all checks for the host
- Click on
save button


How to View Graph in Zabbix
Graphs are always attracted the new users, Below screenshot will help you to how to view graphs in zabbix. If you have just added the host, you need to wait for few time, so that zabbix can collect some data from remote host to show on graph.

Finally :D

Không có nhận xét nào:
Đăng nhận xét